Let’s be honest, there are few things more disappointing than reaching for a glass of ice-cold refreshment on a hot day, only to find your ice bucket empty or filled with tiny, misshapen ice chips. Your ice maker, whether it’s a trusty unit in your freezer or a standalone countertop model, is an unsung hero of daily life. But when it starts to lag, how do you know if it’s a minor hiccup or a major problem? Learning How To Test Ice Maker Performance is the first step to diagnosing any issue and getting back to perfectly chilled drinks. It’s not as complicated as it sounds, and with a little guidance, you can feel like an appliance pro in no time.
First, What Kind of Ice Maker Are We Talking About?
Before we dive into the nitty-gritty of testing, it’s important to know what you’re working with. Performance benchmarks and testing methods can vary slightly depending on the type of machine you own.
- Refrigerator Ice Makers: These are the most common type, built directly into your freezer. They’re convenient but can be affected by the freezer’s overall temperature and settings.
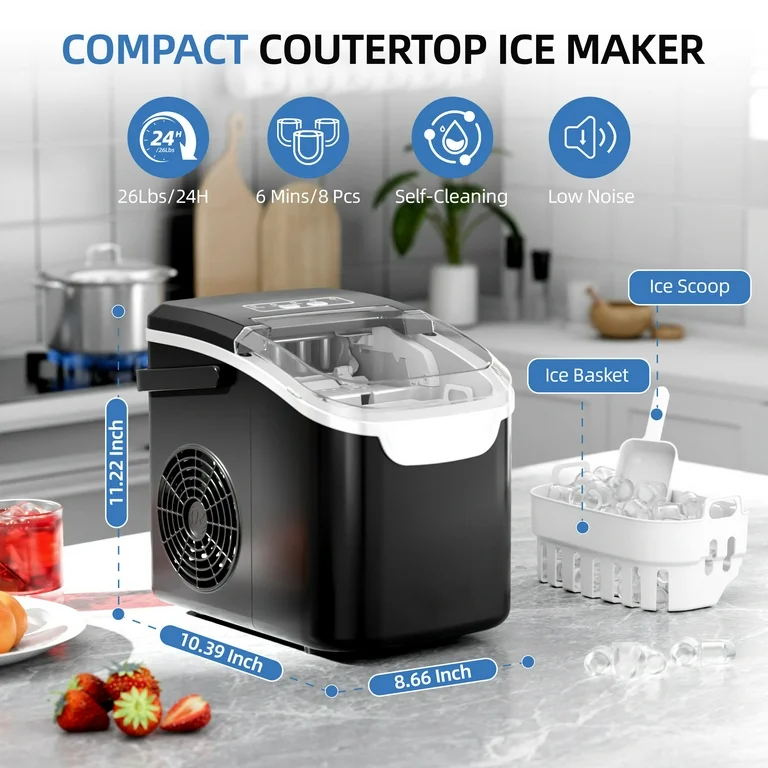
- Portable/Countertop Ice Makers: These compact powerhouses are perfect for parties, RVs, or dorm rooms. They work fast but typically don’t keep the ice frozen for long periods.
- Undercounter Ice Makers: Often found in home bars or high-end kitchens, these are dedicated appliances that produce large quantities of high-quality, clear ice.
- Commercial Ice Machines: The heavy-duty beasts of the industry, found in restaurants and hotels. Their testing is a bit more involved, but the core principles remain the same.
For this guide, we’ll focus primarily on the residential models you’re most likely to have at home, but the concepts apply across the board.
The Core Metrics: How to Properly Test Ice Maker Performance
Testing your ice maker isn’t just about seeing if it makes ice; it’s about evaluating its efficiency, consistency, and overall health. Let’s break it down into a few key tests.
Test 1: The Production Rate & Cycle Time
This is the most straightforward performance metric: how much ice is your machine making, and how fast is it doing it?
- Start Fresh: Empty the ice bin completely. This gives you a clean slate to measure from.
- Check the Specs: Look up your ice maker’s model number online or in the user manual. The manufacturer will list an estimated “pounds of ice per 24 hours.” This is your benchmark. For example, a typical refrigerator ice maker produces 3-5 pounds, while a portable unit might make 20-30 pounds.
- Time a Full Cycle: This is the most critical part. A “cycle” is the entire process from the machine filling with water to it harvesting, or dropping, the finished ice cubes. With your ear close to the machine, listen for the water filling. Start a timer. Listen for the “clunk” or whirring sound of the ice being ejected into the bin. Stop the timer. A healthy refrigerator ice maker cycle usually takes between 60 to 120 minutes. A portable unit can be as fast as 6 to 15 minutes.
- Do the Math: If your refrigerator unit is rated for 4 pounds (or about 64 ounces) of ice in 24 hours, and it drops 8 cubes per cycle, you can estimate its performance. If each cycle takes 90 minutes, you’ll get about 16 cycles in 24 hours. If those 8 cubes weigh roughly 2 ounces, you’re looking at 32 ounces (2 pounds) of ice per day—well below the advertised rate. This tells you there’s an efficiency problem.
Test 2: Ice Cube Quality and Consistency
Quantity isn’t everything. The quality of your ice cubes speaks volumes about your machine’s health. When you empty the bin for your production test, take a good look at the ice.
- Size and Shape: Are the cubes a uniform size and shape? Small, misshapen, or “hollow” cubes often point to a water supply issue, like a partially clogged water line or a failing water inlet valve.
- Clarity: Is the ice cloudy or clear? Cloudy ice is usually caused by dissolved minerals and trapped air in the water, which is common with fast-freezing machines. While not necessarily a performance failure, excessively cloudy or “white” ice could indicate your water filter needs replacing.
- Taste and Odor: Does the ice have a funny taste or smell? This is almost always a sign that your machine needs a deep cleaning or your water filter is long overdue for a change.
A Word from the Field: As David Chen, a certified appliance technician with over 15 years of experience, notes, “Nine times out of ten, when a customer complains about slow ice production or small cubes, the first thing I check is the water filter. It’s the simplest fix and the most common culprit. People forget it’s a maintenance item, just like the oil filter in a car.”
Test 3: The Water Fill and Harvest Cycle
This is more of an observational test. During a cycle, listen carefully. You should hear a distinct, short buzz or hum as the water inlet valve opens to fill the ice mold. It should last for just a few seconds. If you hear a prolonged buzzing, a stuttering sound, or no sound at all, the valve may be failing.
Similarly, watch the harvest cycle. For refrigerator models, a “rake” or “ejector arm” should smoothly push the cubes out of the mold. If it struggles, jams, or makes loud grinding noises, there could be a mechanical issue.
|
Our Picks for the Best ice maker in 2026
As an Amazon Associate, we earn from qualifying purchases.
|
||
| Num | Product | Action |
|---|---|---|
| 1 | EUHOMY Nugget Ice Maker Countertop with Handle, Ready in 6 Mins, 34lbs Per Day, Removable Top Cover, Auto-Cleaning, Portable Sonic Ice Maker with Basket and Scoop, for Home/Party/RV/Camping (Black) |

|
| 2 | Nugget Countertop Ice Maker with Soft Chewable Pellet Ice, Pebble Portable Ice Machine, 34lbs Per Day, Self-Cleaning, Sonic Ice, One-Click Operation, for Kitchen,Office Stainless Steel Black |
|
| 3 | EUHOMY Countertop Ice Maker Machine with Handle, 26lbs in 24Hrs, 9 Ice Cubes Ready in 6 Mins, Auto-Cleaning Portable Ice Maker with Basket and Scoop, for Home/Kitchen/Camping/RV. (Black) |
|
| 4 | FRIGIDAIRE EFIC101-BLACK Ice Maker Machine for Countertop, 26 lbs, Adjustable Ice Cube Size, Portable Ice Cube Maker for Home/Kitchen/Office/Bar- Black |
|
| 5 | FRIGIDAIRE EFIC189-Silver Compact Ice Maker, 26 lb per Day, Silver |
|
| 6 | ZAFRO Countertop Ice Maker, 26.5Lbs/24H, 9 Bullet Cubes in 6 Mins, Self-Cleaning Portable Ice Machine with 2 Ice Sizes (S/L), Quiet Compact Design, Double Handles, for Home, Party, RV, Camping, Green |
|
| 7 | Frigidaire 26 Lbs per Day Portable Compact Maker, Ice Making Machine, Black Stainless, Medium |
|
| 8 | Silonn Nugget Ice Maker Countertop, Pebble Ice Maker with Soft Chewable Ice, One-Click Operation Ice Machine with Self-Cleaning, 33lbs/24H for Home,Kitchen,Office |
|
| 9 | Ice Maker Countertop, 9 Cubes Ready in 6 Mins, 26 lbs per Day, Ice Machine with 2 Ice Sizes and Self-Cleaning, Portable Ice Maker with Handle for Home, Kitchen, Camping, RV, Office, Black |
|
| 10 | EUHOMY Nugget Ice Makers Countertop, Pebble Ice Maker Machine with 35lbs/24H Soft Ice, Self-Cleaning Sonic Ice Maker with Ice Scoop&Basket, Pellet Ice Maker for Home/Kitchen/Office(Stainless Steels) |
|
Common Culprits: Why Is My Ice Maker Underperforming?
If your tests reveal a problem, don’t panic. The cause is often one of these common issues, many of which you can fix yourself.
- Incorrect Freezer Temperature: This is a big one for in-freezer units. Your freezer should be set between 0°F and 5°F (-18°C to -15°C). If it’s too warm, the ice maker’s thermostat won’t trigger the harvest cycle. If it’s too cold (below -10°F), the ice can freeze too hard, making it difficult for the ejector mechanism to work.
- Clogged Water Filter: As our expert mentioned, a clogged filter restricts water flow, leading to smaller cubes and slower production. Most should be replaced every 6 months.
- Kinked or Frozen Water Line: The small supply line behind your fridge can easily get kinked or, in some cases, freeze up if the freezer is too cold or improperly organized.
- Faulty Sensor/Bail Arm: This arm detects when the ice bin is full and signals the machine to stop. If it’s stuck in the “up” or “full” position, it will never start a new cycle.
Pro Tips for Peak Ice Maker Performance
Want to avoid future issues? A little preventative maintenance goes a long way.
- Replace the Water Filter on Schedule: Mark it on your calendar. This is the single best thing you can do for both ice quality and machine longevity.
- Clean Your Ice Maker Regularly: At least twice a year, you should perform a full cleaning using a manufacturer-approved cleaning solution or a vinegar-water mix to remove mineral scale and buildup.
- Check the Water Line: Periodically pull your fridge out and ensure the water line isn’t kinked or pinched.
- Use It or Lose It: If you’re going away for a while, turn the ice maker off and empty the bin. Old ice can absorb freezer odors and stick together, jamming the mechanism.
Frequently Asked Questions (FAQ)
Q1: How long should a new ice maker take to make the first batch of ice?
A1: After installation, it can take anywhere from 6 to 12 hours for a refrigerator ice maker to get cold enough to produce its first batch. Be patient and be sure to discard the first two or three batches to flush out the system.
Q2: Why are my ice cubes hollow?
A2: Hollow ice cubes are typically caused by insufficient water filling the ice mold. This is often a sign of low water pressure or a partially clogged water line or filter, which restricts the flow of water during the short fill cycle.
Q3: Can I use tap water in my ice maker?
A3: Yes, you can absolutely use standard tap water. However, if you have hard water (high mineral content), it will lead to cloudy ice and cause mineral buildup in your machine faster. Using a good quality filter is highly recommended.
Q4: How often should I fully clean my ice maker?
A4: For optimal performance and hygiene, you should deep clean your ice maker every 6 months. If you live in an area with hard water, you may want to do it every 3-4 months to prevent scale buildup.
Q5: What does the ‘test’ button on my refrigerator ice maker do?
A5: Many refrigerator ice makers have a small test button or switch that forces the machine to run through a manual harvest cycle. This is a great diagnostic tool for technicians (and you!) to see if the mechanical parts and water fill are functioning without waiting for a full freeze cycle.
Conclusion
Understanding how to test ice maker performance empowers you as a homeowner. It transforms a mysterious black box in your freezer into a simple machine you can diagnose and maintain. By regularly checking its production rate, ice quality, and cycle functions, you can catch small problems before they become big, expensive repairs. A well-performing ice maker is a luxury you shouldn’t have to live without, and with these tips in your arsenal, you’ll be ready to enjoy perfectly formed, crystal-clear ice for years to come.