So, the season’s changing, you’re heading out for an extended vacation, or maybe you’re just putting the RV to bed for the winter. Whatever the reason, you’re faced with a common question: what’s the right way to put your trusty ice maker into hibernation? It seems simple, but getting this wrong can lead to a world of hurt later on. Knowing How To Store Ice Maker Safely is the difference between plugging it in next season to enjoy crystal-clear ice and discovering a smelly, moldy mess or a machine that’s given up the ghost. Don’t worry, we’ve got your back. As the experts behind The World of Ice Makers, we’ve seen it all, and we’re here to walk you through the process, step-by-step.
Why Proper Storage Isn’t Just an Option, It’s Essential
Let’s be honest, after a long summer of poolside drinks, the last thing you want is another chore. But skipping the proper storage prep for your ice maker is a recipe for disaster. Think of it like this: you wouldn’t leave a half-eaten sandwich in a sealed plastic bag for three months, right? The same principle applies here.
Here’s what you’re up against if you just unplug it and walk away:
- Mold and Mildew: A dark, damp environment is a five-star resort for mold and mildew. Any leftover water in the lines or reservoir will create a funky, unhealthy mess that’s a nightmare to clean.
- Mineral Buildup (Scale): Water left to evaporate will leave behind hard mineral deposits. This scale can clog water lines, damage the pump, and affect the efficiency and lifespan of your machine.
- Damaged Components: In freezing temperatures, any trapped water can freeze and expand, cracking plastic components, water lines, or even the evaporator plate. This is a costly and often irreparable mistake.
- Bad-Tasting Ice: When you finally fire it back up, the first few batches (or more) of ice will taste stale, plastic-y, or just plain off.
Properly storing your ice maker ensures it will be ready to go the moment you need it, saving you time, money, and the headache of dealing with a contaminated machine.
The Universal Step-by-Step Guide: How to Store Ice Maker Safely
No matter what type of ice maker you own—a nifty countertop model, a sleek undercounter unit, or the ice-making part of your refrigerator—these core steps apply. We’ll get into model-specific tips in a bit, but this is your foundational checklist.
- Power Down and Disconnect: This is rule number one for any appliance maintenance. Unplug the machine from the wall outlet completely. If it’s a built-in unit, shut off the water supply valve, which is typically located under the sink or behind the unit. Safety first, always.
- Empty Everything Out: Remove all ice from the storage bin. If you can, save it in a bag in your freezer. Next, drain all the water from the reservoir. Most portable units have a drain plug on the bottom or side. For other models, you might need to disconnect the water line to let it drain fully.
- The All-Important Deep Clean: This is the most critical step. You need to clean and sanitize the machine to prevent anything from growing while it’s in storage.
- Create a cleaning solution: A simple mix of equal parts white vinegar and water works wonders. For a deeper clean, you can use a specialized ice machine cleaner.
- Run a cleaning cycle: If your machine has a self-cleaning function, now’s the time to use it with your cleaning solution. If not, manually wipe down every surface you can reach on the inside with the solution and a soft cloth—the reservoir, the ice bin, the evaporator “fingers,” and the ice scoop.
- Rinse thoroughly: After cleaning, you need to rinse away the cleaning solution. Fill the reservoir with fresh water and run a cycle or two, discarding the ice. Then, drain the unit completely once more.
- Dry, Dry, and Dry Again: We can’t stress this enough: moisture is the enemy. Any lingering dampness will invite mold.
- Use a soft, dry microfiber cloth to wipe down the interior until it’s as dry as you can get it.
- Leave the door or lid propped open for at least 24 hours to allow the interior to air-dry completely. Proper air circulation is key.
Expert Take: We spoke with David Chen, a Senior Appliance Technician with over 15 years of experience. “The biggest mistake I see is people not drying their ice makers thoroughly,” he says. “They clean it, drain it, and close the lid. Three months later, they call me complaining of a terrible smell. Leaving the door ajar is the single best piece of advice I can give for long-term storage.”
- Address the Water Filter: If your ice maker has a water filter, check the manufacturer’s instructions. Some recommend removing it during long-term storage to prevent it from drying out and cracking or becoming a breeding ground for bacteria. This is a great time to note whether you’ll need a new replacement filter when you start it up again.
Storage Quirks: Tips for Different Ice Maker Types
While the core principles are the same, different models have unique needs.
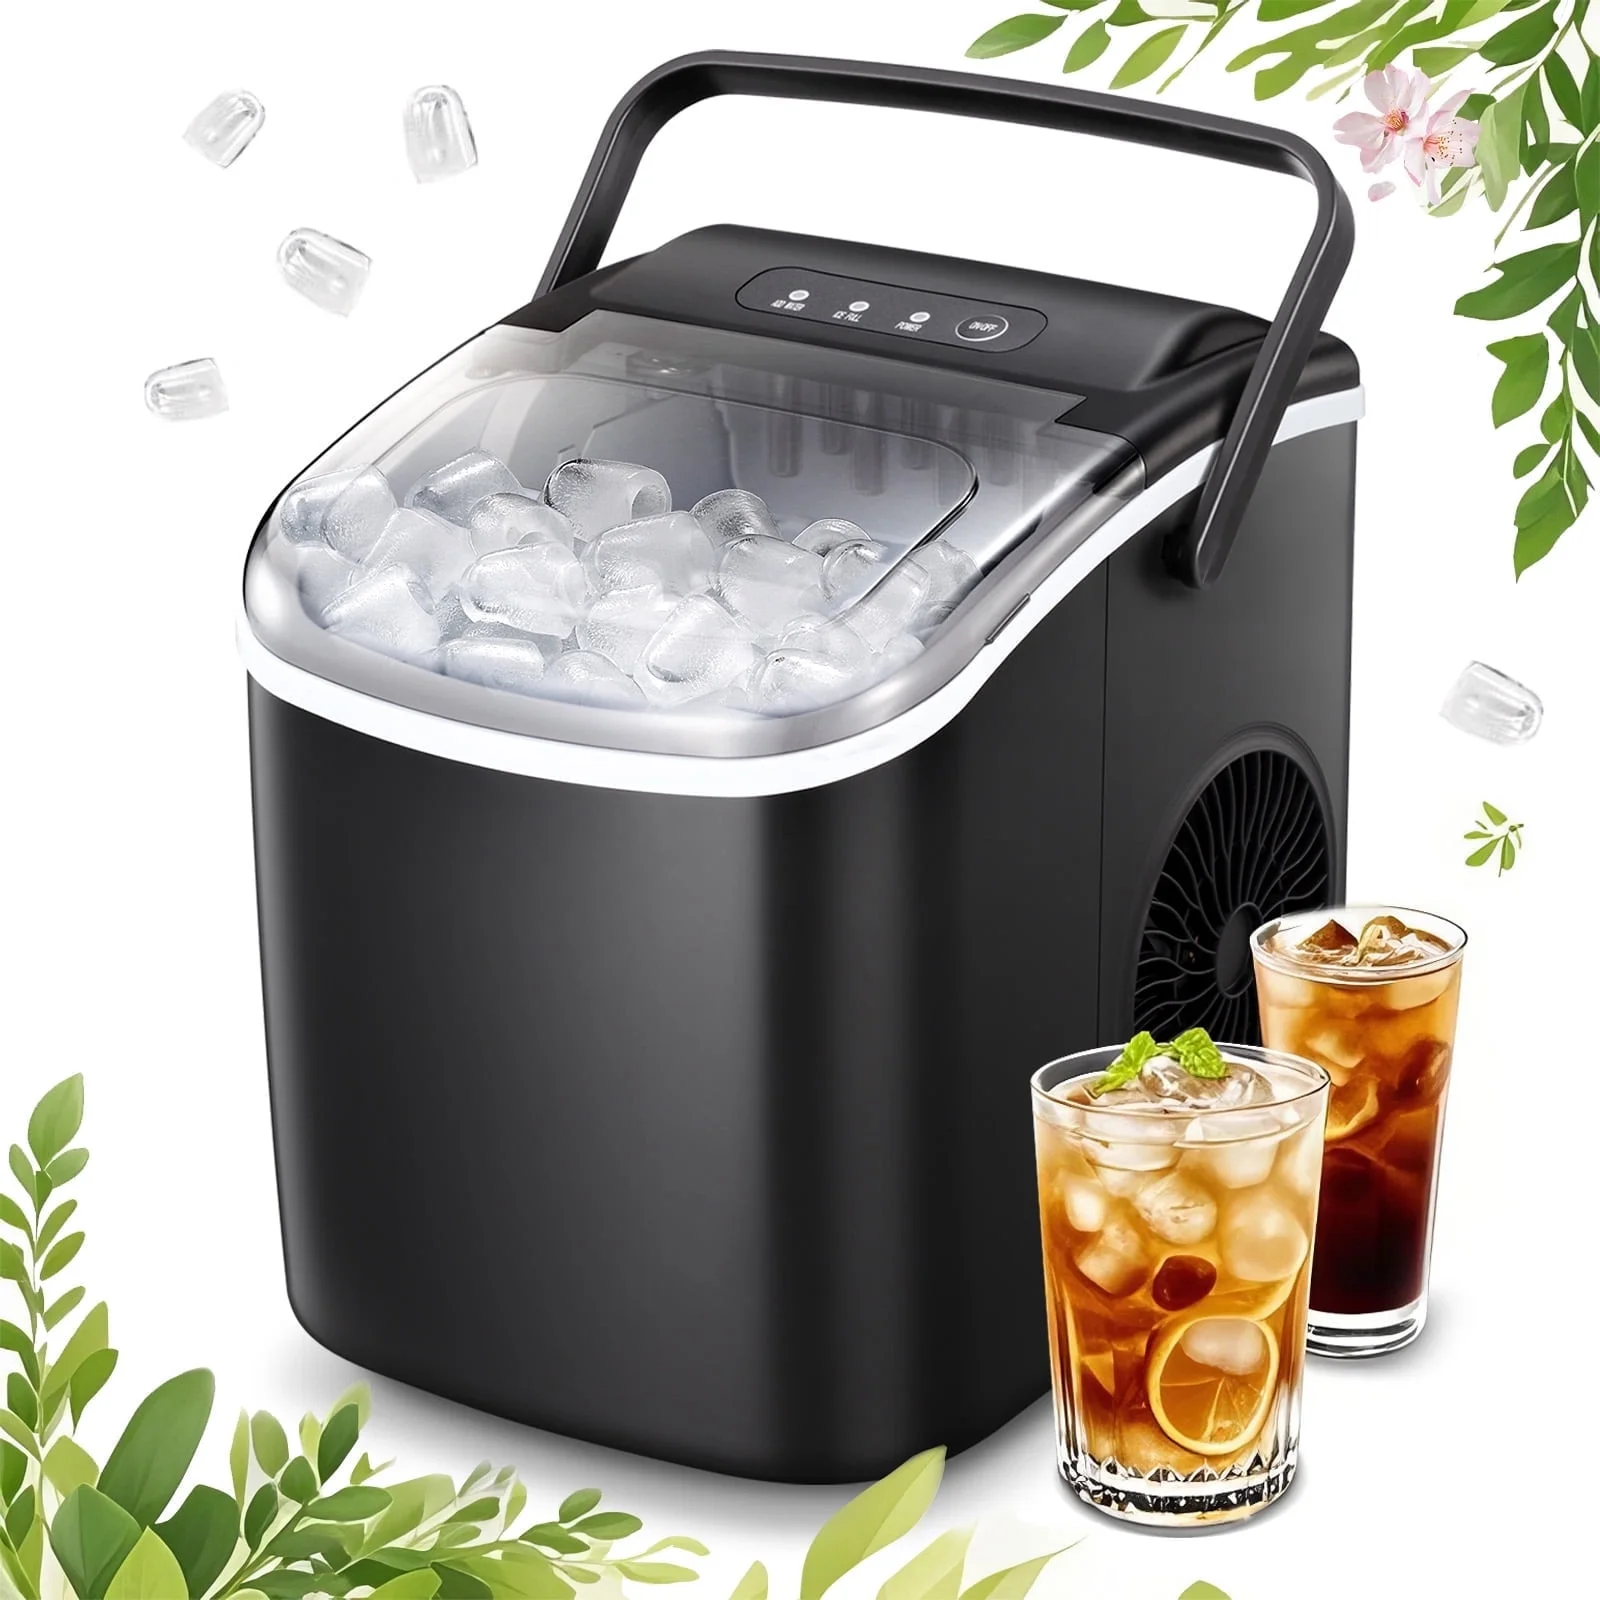
For Portable and Countertop Ice Makers
These are the easiest to handle. After cleaning and drying, simply place the unit back in its original box if you still have it. This protects it from dust and accidental bumps. If you don’t have the box, cover it loosely with a sheet or cloth.
|
Our Picks for the Best ice maker in 2025
As an Amazon Associate, we earn from qualifying purchases.
|
||
| Num | Product | Action |
|---|---|---|
| 1 | EUHOMY Nugget Ice Makers Countertop, Pebble Ice Maker Machine with 35lbs/24H Soft Ice, Self-Cleaning Sonic Ice Maker with Ice Scoop&Basket, Pellet Ice Maker for Home/Kitchen/Office(Stainless Steels) |

|
| 2 | FRIGIDAIRE EFIC189-Silver Compact Ice Maker, 26 lb per Day, Silver |
|
| 3 | Nugget Countertop Ice Maker with Soft Chewable Pellet Ice, Pebble Portable Ice Machine, 34lbs Per Day, Self-Cleaning, Sonic Ice, One-Click Operation, for Kitchen,Office Stainless Steel Black |
|
| 4 | ZAFRO Countertop Ice Maker, 26.5Lbs/24H, 9 Bullet Cubes in 6 Mins, Self-Cleaning Portable Ice Machine with 2 Ice Sizes (S/L), Quiet Compact Design, Double Handles, for Home, Party, RV, Camping, Green |
|
| 5 | Frigidaire 26 Lbs per Day Portable Compact Maker, Ice Making Machine, Black Stainless, Medium |
|
| 6 | Ice Maker Countertop, 9 Cubes Ready in 6 Mins, 26 lbs per Day, Ice Machine with 2 Ice Sizes and Self-Cleaning, Portable Ice Maker with Handle for Home, Kitchen, Camping, RV, Office, Black |
|
| 7 | FRIGIDAIRE EFIC101-BLACK Ice Maker Machine for Countertop, 26 lbs, Adjustable Ice Cube Size, Portable Ice Cube Maker for Home/Kitchen/Office/Bar- Black |
|
| 8 | EUHOMY Countertop Ice Maker Machine with Handle, 26lbs in 24Hrs, 9 Ice Cubes Ready in 6 Mins, Auto-Cleaning Portable Ice Maker with Basket and Scoop, for Home/Kitchen/Camping/RV. (Black) |
|
| 9 | Silonn Nugget Ice Maker Countertop, Pebble Ice Maker with Soft Chewable Ice, One-Click Operation Ice Machine with Self-Cleaning, 33lbs/24H for Home,Kitchen,Office |
|
| 10 | EUHOMY Nugget Ice Maker Countertop with Handle, Ready in 6 Mins, 34lbs Per Day, Removable Top Cover, Auto-Cleaning, Portable Sonic Ice Maker with Basket and Scoop, for Home/Party/RV/Camping (Black) |
|
For Undercounter and Built-in Ice Makers
These require a bit more work since they’re connected to a plumbing line.
- Water Line: After shutting off the water supply, disconnect the line from the back of the machine. Have a bucket and towel ready to catch any residual water.
- Drain Pump: If your model has a drain pump, make sure you run it until it’s completely empty.
- Ventilation: Do not block the front vent (usually at the bottom). This is crucial for the unit’s health, even when it’s not running.
For Refrigerator Ice Makers
If you’re turning off your entire refrigerator for an extended period, follow the cleaning and drying steps for the ice bin and internal components. Make sure the ice maker’s shut-off arm is in the “off” position. Most importantly, leave the refrigerator and freezer doors propped open to prevent odors and mold throughout the entire appliance.
Finding the Perfect Storage Spot
Where you store your ice maker matters almost as much as how you prepare it.
- Keep it Upright: Never store an ice maker on its side or back. The coolant in the compressor needs to remain settled. Laying it down can cause oil to seep into the cooling lines, potentially ruining the unit.
- Climate-Controlled is Best: A cool, dry, and clean place is ideal. A closet, pantry, or a climate-controlled storage unit is perfect.
- Avoid Extreme Temperatures: Garages and sheds can experience wild temperature swings. Extreme heat can damage plastic components, while freezing temperatures can cause any missed water droplets to expand and crack internal parts.
Waking It Up: How to Revive Your Ice Maker After Storage
When it’s time to bring your machine back to life, follow these simple steps to ensure a smooth startup.
- Inspect: Give the machine a quick once-over. Check the power cord for any damage and make sure the interior is still clean and odor-free.
- Position and Reconnect: Place the machine on a level surface, ensuring proper clearance for ventilation. Reconnect the water line and install a new water filter if you removed the old one.
- Rinse Cycle: Wipe down the interior with a damp cloth and fill the reservoir with fresh water. Plug the machine in.
- Discard First Batches: Run at least two to three full cycles and discard all the ice produced. This flushes out any residual dust or stale taste from the lines.
- Enjoy: Your ice maker is now clean, fresh, and ready to serve up perfect ice cubes!
Frequently Asked Questions (FAQ)
Q: How long can I leave water in my ice maker?
A: For daily use, it’s fine. However, if you’re not going to use the machine for more than a few days, it’s best to drain the water and let it dry. This prevents stagnant water from developing off-tastes or becoming a breeding ground for bacteria.
Q: Can I store my portable ice maker in my unheated garage over the winter?
A: We strongly advise against it. If temperatures drop below freezing (32°F or 0°C), any tiny amount of water left inside can freeze, expand, and crack vital components. It’s always safer to store it in a climate-controlled environment.
Q: What’s that musty smell coming from my ice maker after storage?
A: That smell is almost certainly from mold or mildew that grew due to trapped moisture. You’ll need to perform a thorough cleaning and sanitization cycle using a vinegar solution or a dedicated ice machine cleaner before it’s safe to use again.
Q: Do I really need to leave the door open during storage?
A: Yes, this is one of the most important steps. Even if you think the machine is completely dry, leaving the door or lid propped open ensures air can circulate, preventing condensation and stopping mold before it can start.
Q: I forgot to clean my ice maker before storing it. Is it ruined?
A: Not necessarily, but you have a serious cleaning job ahead of you. You’ll need to be extra diligent with the cleaning and sanitizing process. Run multiple cleaning cycles and visually inspect every nook and cranny before attempting to use it.
Your Ice Maker’s Health is in Your Hands
Taking the time to learn how to store ice maker safely is a small investment that pays huge dividends. It protects your appliance, ensures your family’s health, and guarantees that you’ll have fresh, clean ice ready whenever you need it. By following this guide, you’re not just storing a machine; you’re preserving an investment in convenience and enjoyment. So go ahead, store it with confidence, and look forward to that first, perfectly chilled drink when you bring it back online.