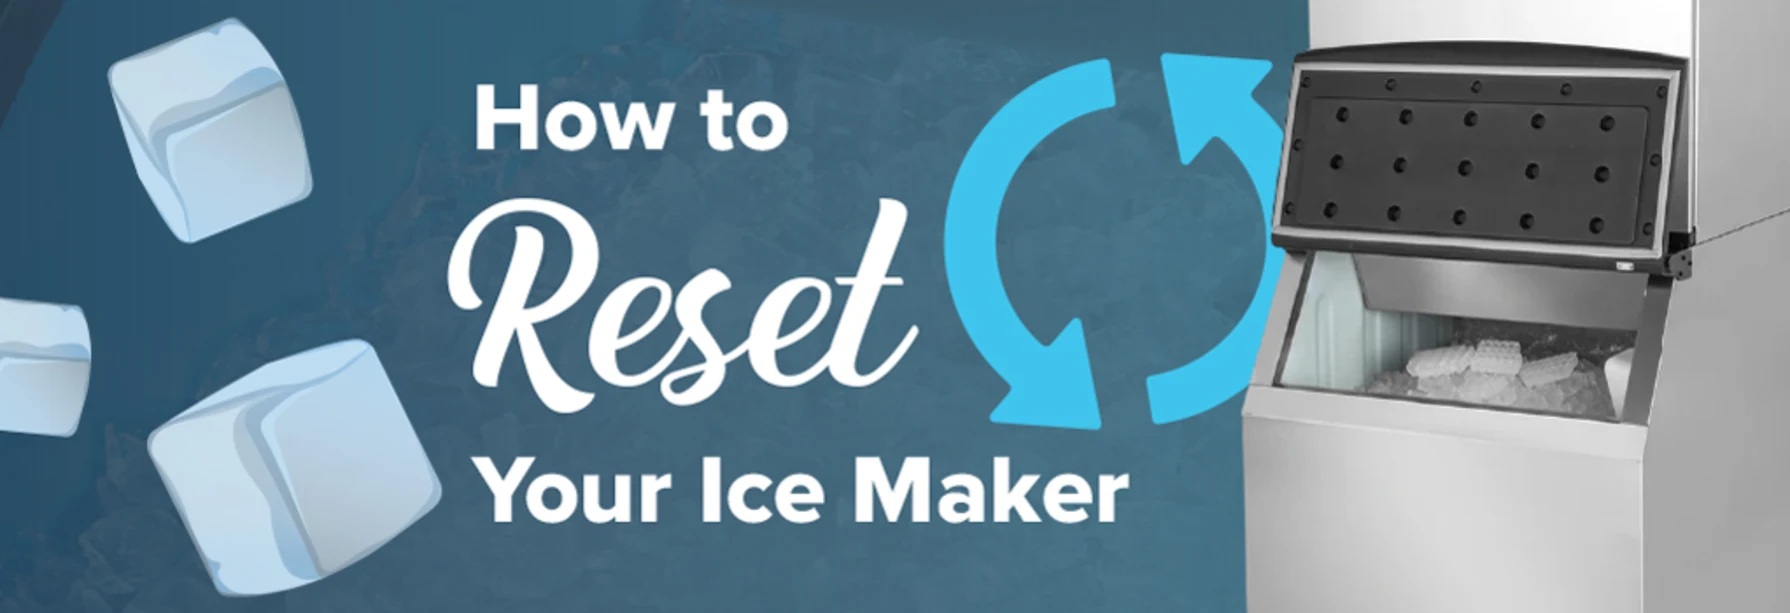
There’s a unique kind of quiet that comes when a household appliance stops working. The gentle hum of the refrigerator is suddenly missing the familiar clink and whir of a new batch of ice. If you’ve opened your freezer bin to find it disappointingly empty, don’t panic or reach for the phone to call a repair service just yet. Often, the solution is much simpler and cheaper. Learning How To Reset Ice Maker Step By Step is a fundamental skill for any homeowner, and it can solve a surprising number of common issues. We’re here to walk you through it, just like a trusted friend would.
Why Does an Ice Maker Need a Reset in the First Place?
Before we dive into the “how,” let’s quickly touch on the “why.” Think of your ice maker as a mini-computer dedicated to one chilly task. And just like your laptop or phone, sometimes it just needs a good old-fashioned reboot to clear out glitches.
A reset can resolve a host of problems, including:
- Minor Power Surges: A brief flicker in your home’s electricity can be enough to confuse the ice maker’s control board.
- Jammed Components: If the ejector arm gets stuck or ice cubes create a blockage, the cycle is interrupted. A reset can often force it to restart the cycle correctly.
- Sensor Errors: Modern ice makers use sensors to detect ice levels. Sometimes these sensors get frosted over or simply need to be recalibrated through a reset.
- Water Fill Issues: If the water valve timing is off, a reset can help get it back in sync.
Essentially, a reset is a way to force the ice maker to stop, forget any errors it has encountered, and start its cycle from the very beginning.
First Things First: The Pre-Reset Checklist
Hold on a second! Before you start pushing buttons or pulling plugs, a quick 2-minute check can sometimes save you the trouble of a reset altogether. Run through this list:
- Check the Feeler Arm: Make sure the metal feeler arm (or paddle) is in the down or “on” position. If it’s locked in the up position, it’s telling the machine the ice bin is full.
- Confirm Water Supply: Is the water line to your refrigerator turned on? Has it been kinked or frozen? No water in means no ice out.
- Inspect for Blockages: Look for any stray ice cubes jamming the ejector mechanism. Carefully and safely remove any you find.
- Check the Temperature: Your freezer should be set to 0°F (-18°C) for optimal ice production. If it’s too warm, the ice maker won’t be able to work correctly.
If you’ve checked all these and the problem persists, it’s time to proceed.
How to Reset Ice Maker Step by Step: The Universal Method
This method, often called a “power cycle,” works for the vast majority of ice makers, from those in your refrigerator to many countertop models. It’s the most reliable starting point.
- Turn the Ice Maker Off: Locate the power switch on the ice maker itself. This might be a toggle switch, a slide switch, or the feeler arm itself (lifting it all the way up often turns it off). If you can’t find a dedicated switch, don’t worry—just proceed to the next step.
- Unplug the Refrigerator: Gently pull the refrigerator away from the wall and unplug it directly from the wall outlet. Do not just turn it off at a power strip. You want to cut all power to the main control board.
- Wait Patiently: This is the most crucial part. Leave the refrigerator unplugged for at least 5 to 10 minutes. This gives the internal capacitors and control board enough time to fully discharge, effectively wiping its short-term memory of any errors. Grab a coffee; this is a forced break.
- Plug it Back In: Plug the refrigerator directly back into the wall outlet.
- Turn the Ice Maker On: If you turned the unit off with a switch or the feeler arm, turn it back on now by lowering the arm or flipping the switch.
- Listen and Wait Again: You should hear the refrigerator’s compressor kick back on. It may take a moment, but you might also hear the ice maker’s water valve buzz as it fills the mold for the first time. Now, the second waiting game begins. It can take anywhere from 2 to 12 hours to produce the first batch of ice after a reset, depending on the model and freezer temperature.
A Pro’s Perspective: We spoke with David Chen, a certified appliance technician with over 15 years of experience. He advises, “I always tell my clients to try the simple power cycle first. About 60% of the ‘broken’ ice maker calls I get are solved by a proper reset. People are often just too impatient and don’t wait the full 10 minutes before plugging it back in. That’s the magic number for clearing most simple electronic faults.”
Resetting Specific Types of Ice Makers
While the power cycle is nearly universal, some models have specific features that make resetting even easier.
Refrigerator Ice Makers with a Dedicated Reset Button
Some modern refrigerators make life easy for you. If you’re lucky, your model might have a small, dedicated reset button.
- Where to find it: The location varies. Look on the bottom or side of the ice maker unit itself. It might be a small pinhole button (you’ll need a paperclip to press it) or a clearly labeled tactile button. Your owner’s manual is your best friend here.
- How to use it: Press and hold the button for 10-15 seconds. You will often hear a chime or see an indicator light blink, confirming the reset has begun. The ice maker should then immediately start a harvest cycle.
Portable or Countertop Ice Makers
These handy units are generally the simplest. The how to reset ice maker step by step guide for these is almost always the universal power cycle method.
- Turn the unit off using its power button.
- Unplug it from the wall.
- Wait 5-10 minutes.
- Plug it back in and turn it on.
- Ensure the water reservoir is full.
Under-Counter and Commercial Ice Makers
These are more complex machines. While a power cycle reset is still a valid first troubleshooting step, they often have more sophisticated control panels and diagnostic modes. For these units, we strongly recommend consulting the manufacturer’s manual first, as an improper reset could disrupt specific settings. If a power cycle doesn’t work, it’s often best to consult a professional familiar with commercial units.
What to Do If the Reset Doesn’t Work
So you’ve performed the reset perfectly, waited patiently, and… still nothing. What’s next? A failed reset helps you narrow down the problem. The issue is likely not a simple glitch but a mechanical or component failure.
Here are the most common culprits:
- Faulty Water Inlet Valve: This valve controls the flow of water into your ice maker. If it’s clogged with sediment or has failed electronically, no water will get to the tray.
- Clogged or Frozen Water Line: The small tube that supplies water can easily get frozen or blocked. You may need to thaw it carefully with a hairdryer on a low setting.
- Defective Thermostat: The ice maker has its own thermostat. If it fails, it won’t know that the water is frozen and ready to be harvested.
- Failed Motor or Control Module: In some cases, the motor that powers the ejector arm or the entire control module itself may have failed and will need to be replaced.
For these more advanced issues, you can often find replacement parts and DIY guides online, but if you’re not comfortable with appliance repair, this is the point where it’s wise to call in a qualified technician.
Frequently Asked Questions (FAQ)
Q: How long after a reset should my ice maker start working?
A: Be patient. After a full power cycle reset, it can take anywhere from 2 to 12 hours to see the first batch of ice. The freezer needs to get back to its optimal temperature, and the ice maker needs to complete a full freezing cycle, which typically takes 90-120 minutes.
Q: Is there a reset button on my Whirlpool (or Samsung, LG, etc.) ice maker?
A: It depends entirely on the model. Many newer models from major brands like Whirlpool, Samsung, and LG do have small reset buttons. The best way to know for sure is to check your appliance’s user manual or search online for your specific model number + “ice maker reset button.”
Q: How often should I reset my ice maker?
A: You should only need to reset your ice maker when it’s malfunctioning. It is not a regular maintenance task. If you find yourself needing to reset it frequently (e.g., weekly or monthly), it’s a sign of an underlying issue that needs to be properly diagnosed and repaired.
Q: Will resetting my ice maker delete any settings on my refrigerator?
A: No, a standard ice maker reset or even unplugging the refrigerator for 10 minutes will not erase your main temperature settings or other custom fridge settings. The control boards for these functions have non-volatile memory.
Q: My ice maker is making ice, but the cubes are small or hollow. Will a reset fix this?
A: It might, but this issue is more commonly caused by low water pressure or a partially clogged water filter. Before trying a reset, check your home’s water pressure and replace your refrigerator’s water filter if it’s more than six months old.
Your Ice Cold Conclusion
Mastering how to reset ice maker step by step is a simple yet powerful troubleshooting skill that can save you time, money, and the frustration of a warm drink. In most cases, a methodical power cycle is all it takes to jolt your machine back to life. By following the pre-reset checklist and performing the steps correctly, you can solve the most common glitches yourself. And even if it doesn’t work, you’ve successfully eliminated the easiest fix and can now more confidently diagnose the next step. So go ahead, give your ice maker the fresh start it needs and get back to enjoying perfectly chilled beverages.